
BEFORE YOU START
What you need
- The Teams module is enabled. The operator can read and edit the Teams workspace and tenants.
- The selected tenant has a working Teams PowerShell session. Microsoft Graph with User.Read.All supplies user search and display names.
- The number exists in Microsoft. Assigning it to a user requires the appropriate Teams Phone licence; the preview also checks Enterprise Voice.
Open the correct tenant
Where to work: Microsoft Teams → Teams tenants → Tenant → Settings
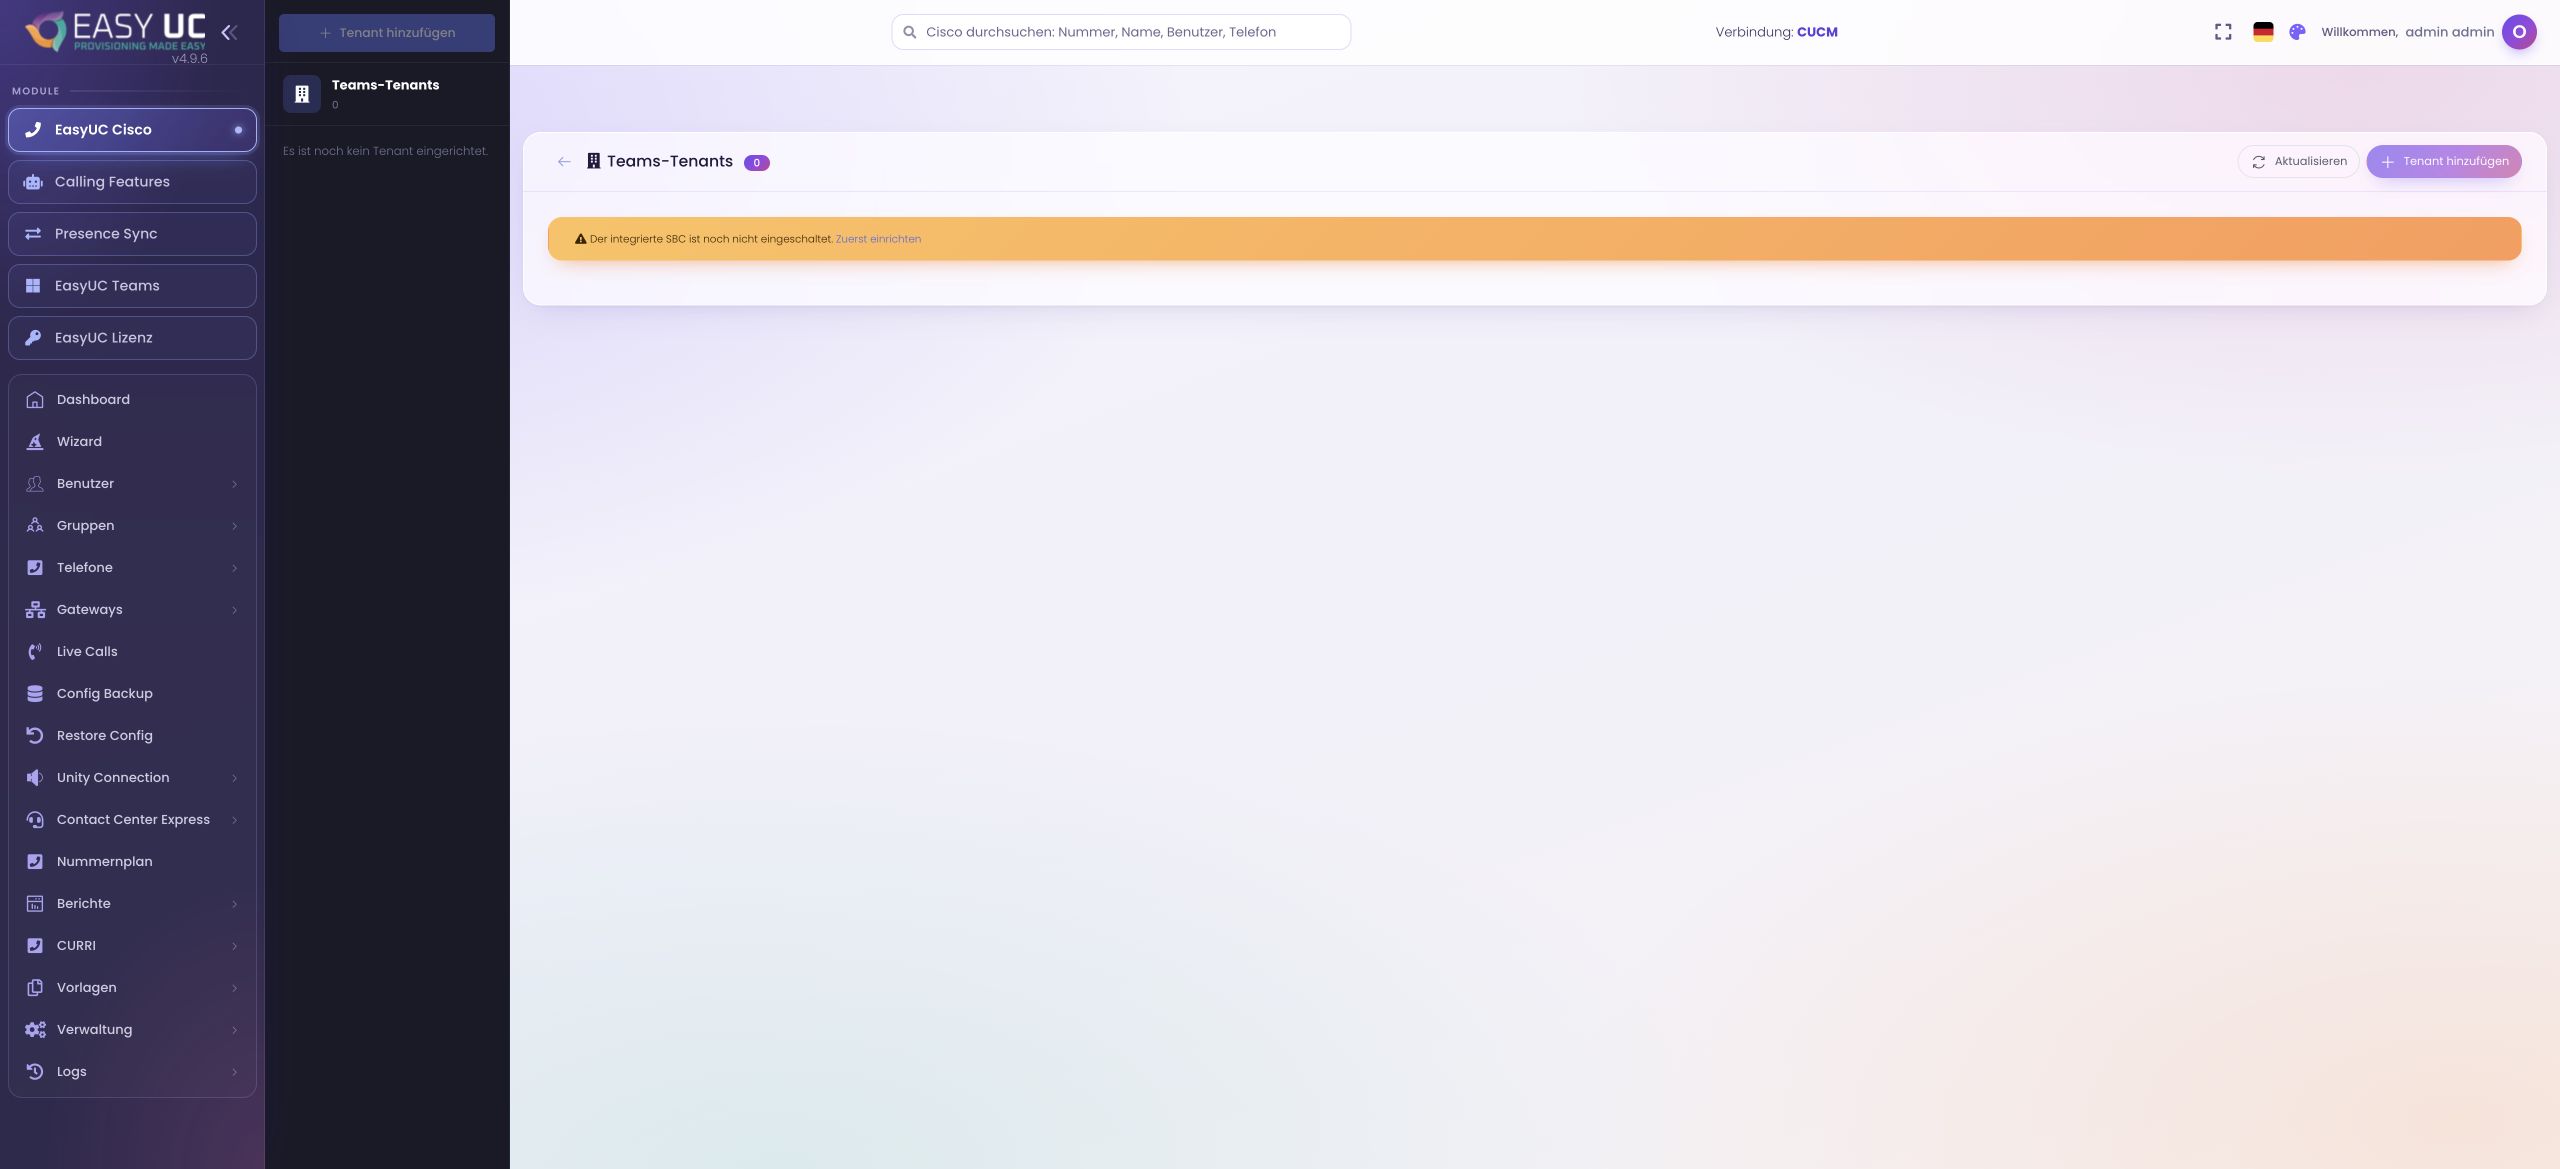
Start with the tenant that contains the new employee. Check its name and Microsoft identity before opening number management. The Teams PowerShell session must be usable under Settings. Numbers come from PowerShell, while Graph adds names. Missing display names therefore do not automatically mean there are no numbers. Check an empty number plan and a missing session separately before proceeding.
Find a suitable available number
Where to work: Tenant → Number plan
Open Number plan and select unassigned numbers under Show. Enter the required number range and choose starts with, contains or ends with. The Type filter distinguishes Direct Routing, Operator Connect and Calling Plan. Also check the provider and any EasyUC destination on the matching row. Avoid accidentally assigning a number already used by a script to a new employee.
Identify the target account
Where to work: Number plan → Actions → Assign …
Choose Assign … on the selected number. Search by name, email address or UPN and verify the full identity of the result. Refine broad searches because the dialog initially displays only the first matches. Select the employee or resource account. The next screen loads the preview; selecting an account does not itself assign the number in Microsoft.
Review licensing and the proposed change
Where to work: Assignment dialog → Preview
Compare the phone number, number type and user UPN. The preview also shows the current owner, the target user’s existing number, Teams Phone licence and Enterprise Voice state. Read These steps will run: existing settings are distinguished from steps to execute or skip. This is especially useful with similar names and existing numbers, helping prevent an unintended reassignment.
Resolve warnings and blockers
Where to work: Preview → Blockers / Please note
Resolve reported blockers before applying the change. If the licence is unknown, check the actual licence in Microsoft 365; unknown is not confirmation. Review warnings about existing assignments and EasyUC scripts. Choose another user returns to search if the account is wrong. After changing settings outside EasyUC, load a fresh preview so the decision reflects the current state.
Apply and verify the assignment
Where to work: Preview → Assign number → Number plan
Click Assign number and confirm with Yes, execute now. This is the step that writes the change to Microsoft. Wait for success and close the dialog. Check the new owner in the number row and the Teams number in user details. If Microsoft reports an error, read it and reload the number plan before attempting the operation again.
The result
After a successful operation, the number plan shows the new owner. The user details provide a second place to check the Teams number. The preview exposes the selected number, target account and any blockers before the change.
Good to know
- The number plan shows data returned by Microsoft. Assignment options depend on number type, licensing and tenant configuration.
- Removing an existing assignment affects the previous owner’s reachability. This workflow assigns an existing number; it does not purchase or port numbers.
Captures come from the EasyUC lab and demo environment. Captions identify setup and simulation states. If the interface is not yet available in your language, its original language is labelled. Available features depend on the version, permissions and configured connections.